
한 걸음씩
[macOS] MySQL 설치 본문
❗Homebrew 미리 설치해야 함!
# 맥 터미널에 입력
brew install mysql
# 터미널 입력
mysql --version
# 터미널 출력이 다음과 같이 되는지 확인!
mysql vver 8.0.32 for macos13.0 on arm64 (Homebrew)MySQL 실행
# 터미널 입력
mysql.server start

# 터미널 출력이 다음과 같이 되는지 확인!
Starting MySQL
. SUCCESS!
보안 설정
# 터미널 입력
mywql_secure_installation
1. 비밀번호 복잡성 유무
- 비밀번호를 복잡하게 설정할 것인지, 쉬운 비밀번호를 사용할 것인지 결정
VALIDATE PASSWORD COMPONENT can be used to test passwords
and improve security. It checks the strength of password
and allows the users to set only those passwords which are
secure enough. Would you like to setup VALIDATE PASSWORD component?
# : 옆에 n 입력하고 enter
Press y|Y for Yes, any other key for No: n # 여기에 n 입력하고 enter
2. 비밀번호 설정
New password: # 비밀번호 입력 시 문자가 보이지 않지만 입력 후 enter

Re-enter new password: # 비밀번호 확인 입력 후 enter
3. 사용자 설정
By default, a MySQL installation has an anonymous user,
allowing anyone to log into MySQL without having to have
a user account created for them. This is intended only for
testing, and to make the installation go a bit smoother.
You should remove them before moving into a production
environment.
# 익명의 사용자를 삭제 할 것인지 y입력 후 enter
Remove anonymous users? (Press y|Y for Yes, any other key for No) : y
# yes 일 경우 서버 실행 시 사용자 정보 필요
4. 원격 접속 설정
Normally, root should only be allowed to connect from
'localhost'. This ensures that someone cannot guess at
the root password from the network.
# 다른 IP에서 root 아이디로 원격접속을 허용할 것인지 : n 입력 후 enter
Disallow root login remotely? (Press y|Y for Yes, any other key for No) : n
5. test 데이터베이스 설정
Normally, root should only be allowed to connect from
'localhost'. This ensures that someone cannot guess at
the root password from the network.
# test 데이터베이스를 자동으로 생성할 것인지 : n 입력 후 enter
Disallow root login remotely? (Press y|Y for Yes, any other key for No) : n
6. 권한 적용 여부 설정
Reloading the privilege tables will ensure that all changes
made so far will take effect immediately.
# 권한이 변경되면 테이블에 적용할 것인지 : y 입력 후 enter
Reload privilege tables now? (Press y|Y for Yes, any other key for No) : y
7. 설정 완료
All done!MySQL Workbench
https://downloads.mysql.com/archives/workbench/
MySQL :: Download MySQL Workbench (Archived Versions)
Please note that these are old versions. New releases will have recent bug fixes and features! To download the latest release of MySQL Workbench, please visit MySQL Downloads. MySQL open source software is provided under the GPL License.
downloads.mysql.com
- 위의 링크를 통해 8.0.31 버전을 다운로드 (8.0.32 버전은 문제가 있어서 homebrew가 아닌 직접 이전 버전을 설치)
- 위와 같은 app이 설치됐는지 확인 후
- 더블 클릭으로 실행하면
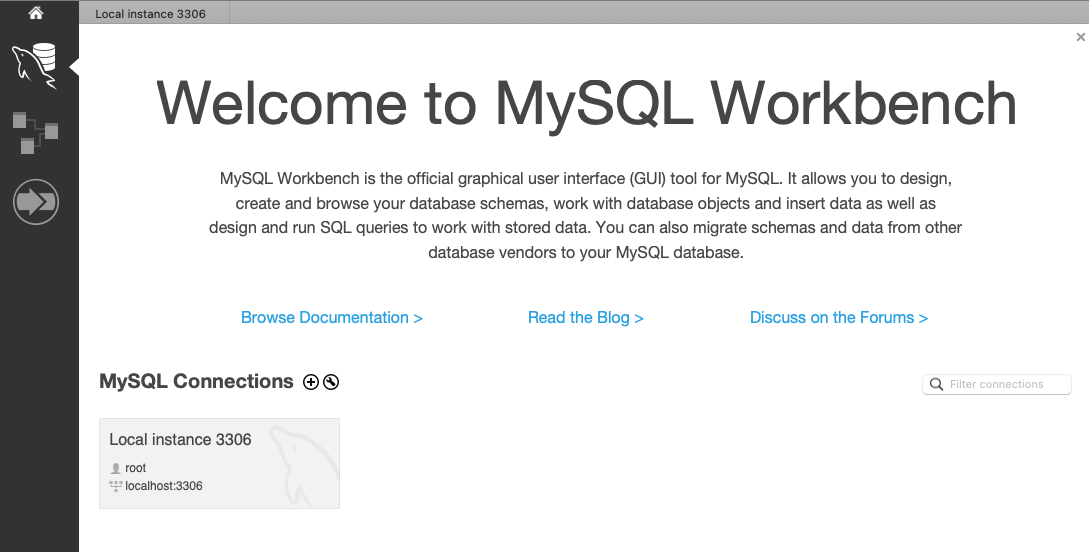
- Local instance 3306이라고 적힌 박스 클릭 후
- 앞서 터미널에서 설정한 비밀번호 입력 후 OK버튼 클릭
Workbench 추가 설정
1. Settings

- workbench 클릭하면 mac 상단에 MySQLbench -> Preferences 클릭
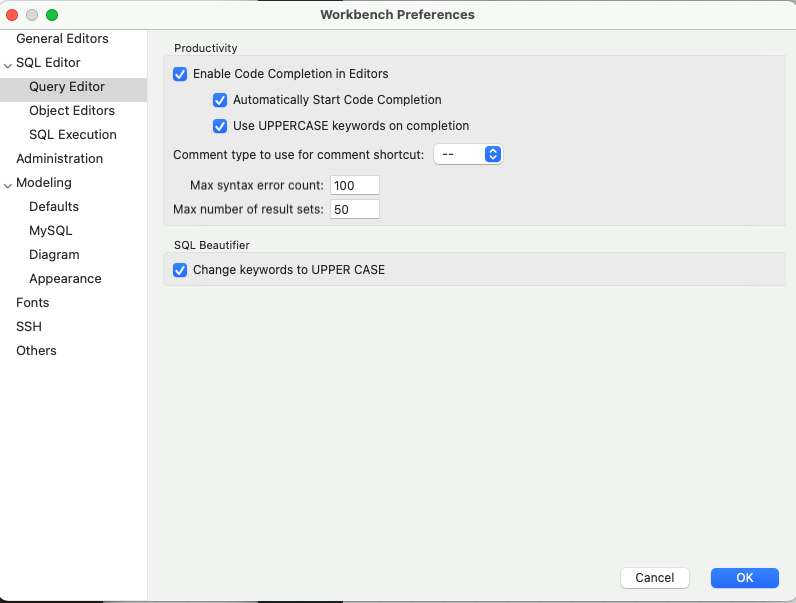
- Preferences 클릭하면 위의 같은 화면이 뜨는데 Query Editor -> Use UPPERCASE keywords / Change keywords to UPPER CASE 체크
수업 자료 데이터 베이스 추가
1. 제공받은 데이터베이스 다운로드 및 압축 풀고 파일 확인하기
2. MySQL 접속 해서 Local instance 3306 클릭
3. Administration -> Data Import/Restore
4. Import from Self - Contained File 체크 -> . 클릭해서 다운로드한 파일 선택 -> Start Import
5. Import Completed 확인하기
실습용 데이터베이스 확인
1. Schemas 클릭 -> 새로고침 버튼 클릭(화살표 모양) -> 데이터베이스 classicmodels 확인
쿼리(Query) 실행 테스트
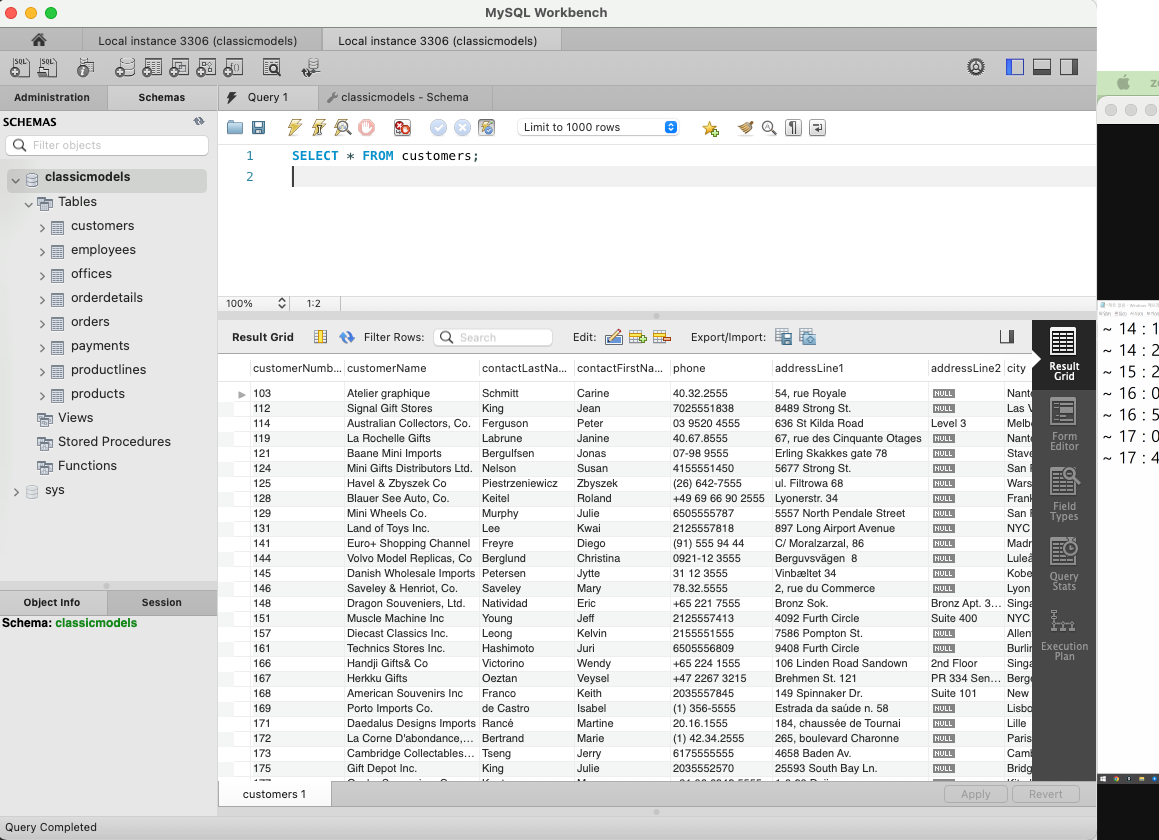
1. classicmodels 데이터베이스 더블 클릭
2. Query 에디터 클릭
3. 쿼리문 입력
SELECT * FROM customers;4. 쿼리 실행
5. 출력 확인
한글 입력 설정
❗MySQL은 한글 데이터 입력이 되지 않기 때문에 추가 설정 필요함
1. 데이터베이스 옆 도구 모양 클릭 -> utf8 / utf8_bin 선택 후 apply

'SQL' 카테고리의 다른 글
| [SQL] MySQL - Modifying Data (0) | 2023.02.14 |
|---|---|
| [SQL] MySQL - Managing Tables (0) | 2023.02.14 |
| [SQL] MySQL - Single Table Queries 2 (0) | 2023.02.13 |
| [SQL] MySQL - Single Table Queries 1 (0) | 2023.02.09 |
| [DB] Database (0) | 2023.02.08 |


